


Class scheduling is a complex process with lots of variables. And it is important to make sure that the schedule is not just fair, but also efficient and effective.
Class scheduling or tutor scheduling can help schools and coaching centers to reduce the workload of teachers and provide a better experience for students. It can also help teachers plan their time more effectively as they will know exactly what they have to do in advance.
Class schedule is an essential part of school life, which means that it needs to be done perfectly. TutorShell – Tutor scheduling software will help schools and coaching centers achieve this goal by reducing the workload of teachers and providing students with a better experience.
Why is Scheduling Important for Tutors?
As a tutor, you will be in charge of scheduling your classes. This is important because it allows you to know when your time is best spent and when you have the most availability.
In order to be successful in tutoring, the tutor must be able to schedule their time effectively. They must know when they are able to get their work done and what activities they need to focus on that day.
Why is TutorShell the Best Tutor Scheduling Software?
TutorShell is a cloud-based, centralized tutor management platform that helps you schedule tutoring sessions with ease. It has an easy-to-use interface and is accessible from any device.
TutorShell has the best tutor scheduling features because it’s easy to use, secure, and offers a wide variety of features. These features include:
- Centralized platform for all your resources – data, schedules, and students.
- It also has a calendar view which makes it easier for teachers to visualize what they need to work on next.
- Tutors can schedule their classes & tests based on their weekly, and monthly plans.
- Zoom link can be attached directly to the system while scheduling so that students can access the class from the system itself with a single click.
Now Let’s See How you Can Schedule Your Classes Using TutorShell – Step-by-Step
Step1. Sign in using your Email ID & Password or You can Directly Log in using your Gmail account (No sign up required)
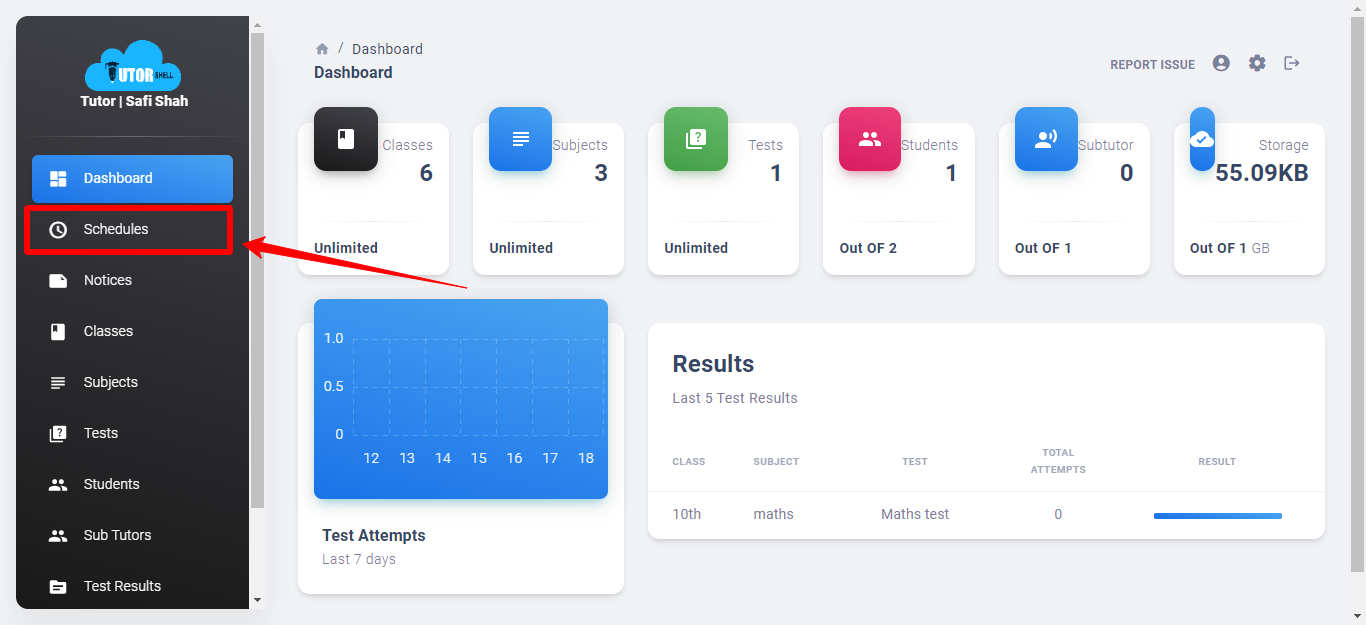
Step 2. Click on the Schedule Section on the left sidebar

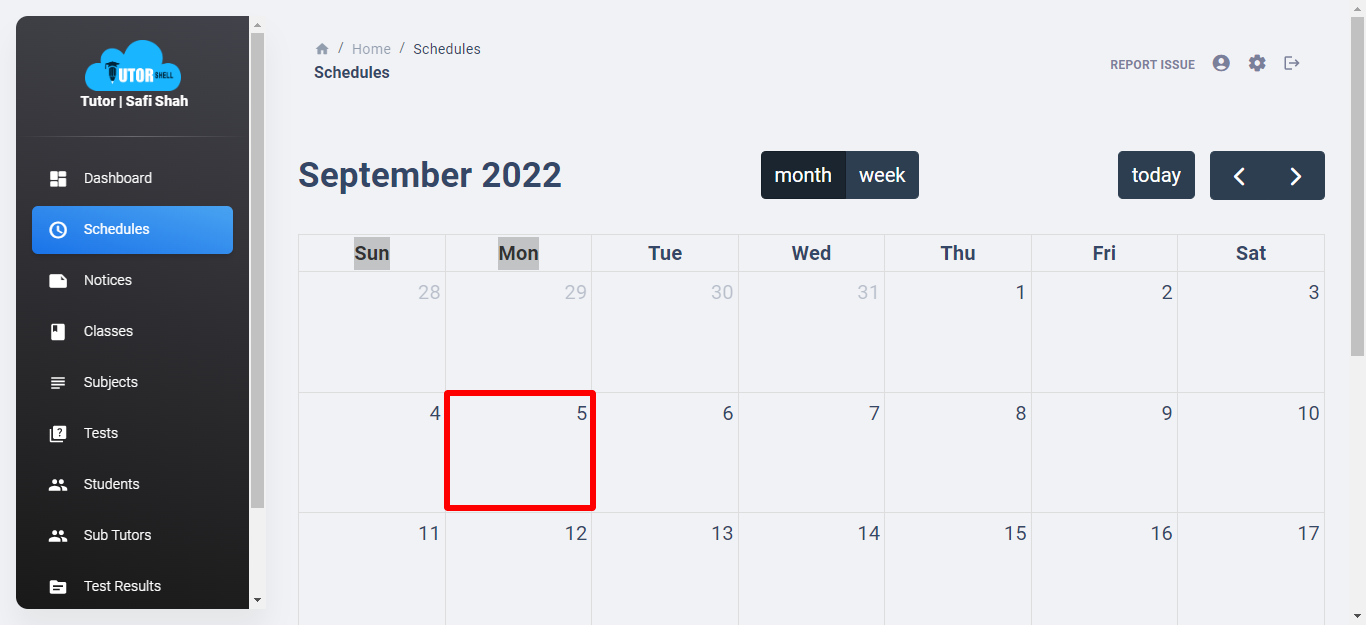
Step 3. Choose a date on which you want to schedule your class
Step 4. You will need to name the schedule, choose the class for which you want to create it, and add a subject name for reference.

Step 5. Specify a start date and end date; enter a zoom link manually or let the system generate one for you.
Note: Watch the following video to see how to automatically generate a zoom link.

Step 6. By clicking submit, you have successfully scheduled your online class.
You can schedule your daily or weekly classes in one go, you don’t have to do it daily for the same class & same subject.
Note: Schedule your daily or weekly classes in just one go; you don’t need to create a schedule daily for the same classes & subjects.
Once you have created your schedule, students of the respective classes & subjects can view the same on their portal calendar. They can join the online class on the scheduled date just by clicking on the link mentioned in the calendar.

Join hands with TutorShell & make your tutoring job easy. Sign up now!