Every day we hear about new technologies arriving to make the world a better place. Augmented reality, virtual reality, artificial intelligence, all these buzzy words have become a part of our world now. We all are aware of such products that use these technologies. Everything is going digital, even education. Online tutoring has become immensely popular as it provides flexibility and convenience for both tutors and students.
With advanced class scheduling systems and tutor management systems, online tutoring is growing faster than usual. They also offer various scheduling and calendar features to streamline the process of arranging tutoring sessions. In this article, we will learn how effectively you can navigate the scheduling and calendar features on our tutor management software – TutorShell.
Understanding TutorShell
We are a cloud-based management software designed for tutors to facilitate the collaboration between tutors and their students. We believe that to support online learning, we must have a robust class scheduling system that allows tutors to manage their availability, set up recurring sessions, and communicate their preferred time slots to their students.
Our class scheduling system allows tutors to view and manage their classes.
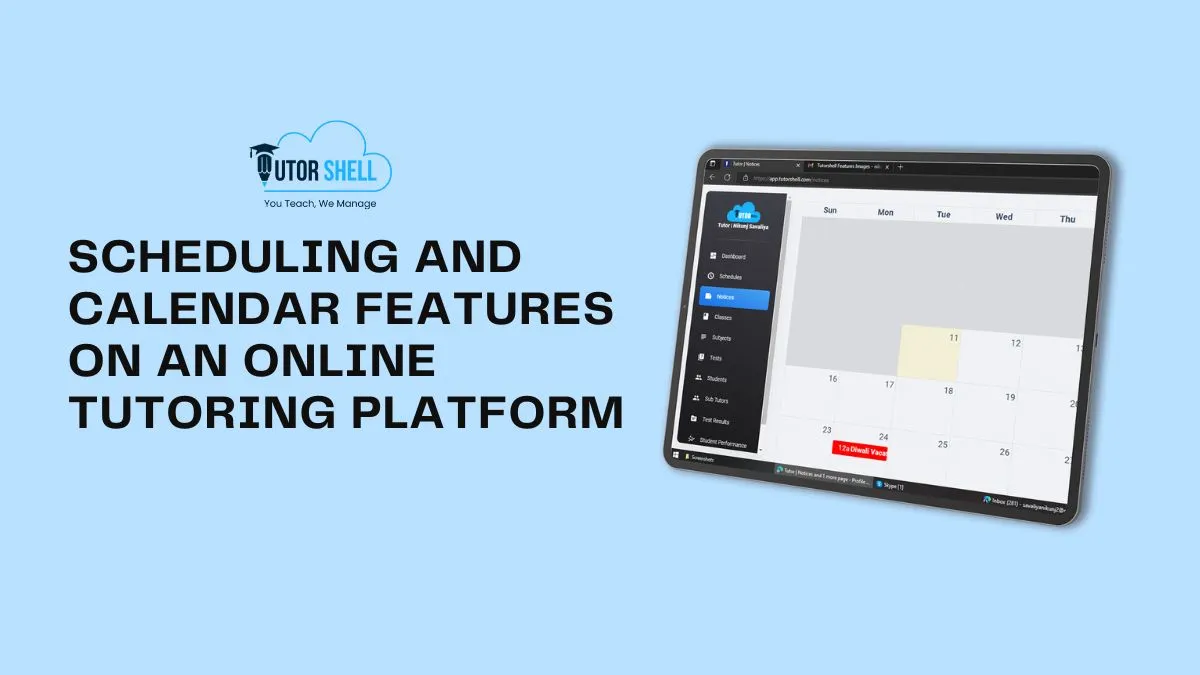
Organized Calendar
We have designed a comprehensive calendar so that you can easily supervise tests and classes for students. Any change you do on the calendar is automatically reflected in the system.
It also allows teachers to schedule their classes or tests in advance. Class scheduling systems have an in-built calendar, providing teachers with an option to create schedules before a week or a month. Students of respective classes or subjects can track the schedule on their dashboard & be prepared for the same.
A schedule is crucial for both students and teachers. Students can stay on track and organized using this system. They will know what they need to do and when they need to do it. It helps them to stay focused and not procrastinate.
A schedule helps the tutors plan their lessons and make sure they cover all topics mentioned in the curriculum. It also allows them to organize sessions as per the progress in the curriculum. This tutor management system helps them plan their learning sessions appropriately. Having a schedule in place helps both of them – students and teachers to stay on track with their goals.
Zoom Reminders and Generators
Our auto-generated Zoom link will help students get the Zoom link beforehand. If the tutor does any modification, then it will be reflected in students’ portals. It gives tutors the automation they require for seamless operation.
How to Schedule a Tutoring Session?
Scheduling classes is very easy with TutorShell. You can read the following steps for a complete guide.
Step 1 – Search tutorshell.com on your browser.
Step 2 – Sign up if not registered or sign in using your email id & password. (Note: You can also sign in using your G-Mail account)
Step 3 – Click on the ‘Classes’ section on the TutorShell dashboard’s left sidebar.
Step 4 – Create a class by filling in the class name detail.
Step 5 – After creating a class successfully, it will appear in the existing class section right below it.
Step 6 – To add a subject for your class, click on ‘Subject’ on the TutorShell dashboard’s left sidebar.
Step 7 – Select class from the drop-down menu.
Step 8 – Add the subject name & upload a syllabus file you want to cover from the device. You can also upload study material for your students’ referral if you want to. You can also add YouTube videos & any other reference links to clear students’ concepts.
That’s it. You have successfully created a class. Now, to schedule a class you can follow these simple steps.
Step 1 – Click on the ‘Schedule’ section on the TutorShell dashboard’s left sidebar.
Step 2 – Choose a date from the calendar.
Step 3 – Give a name to your schedule.
Step 4 – Select class & subject from the dropdown menu.
Step 5 – Select the start time & end time for your online class.
Step 6 – Copy & paste the link to your Zoom class. (Note: You can also generate a Zoom link directly from TutorShell)
That’s it. You’ve scheduled your class successfully. If you are still confused and want to watch a video for the same. Click the link given below and watch the complete guide.
Complete Guide: https://tutorshell.com/support/
How to manage online classes: https://www.youtube.com/watch?v=yMHka0WIHsI
How to schedule online classes: https://www.youtube.com/watch?v=eMkikaoqiM8